just volleyball Spike, Block & Power
Charged jumps, W power, A/D curve, dash-jump and BAM approaches, plus blocks that reset rallies.
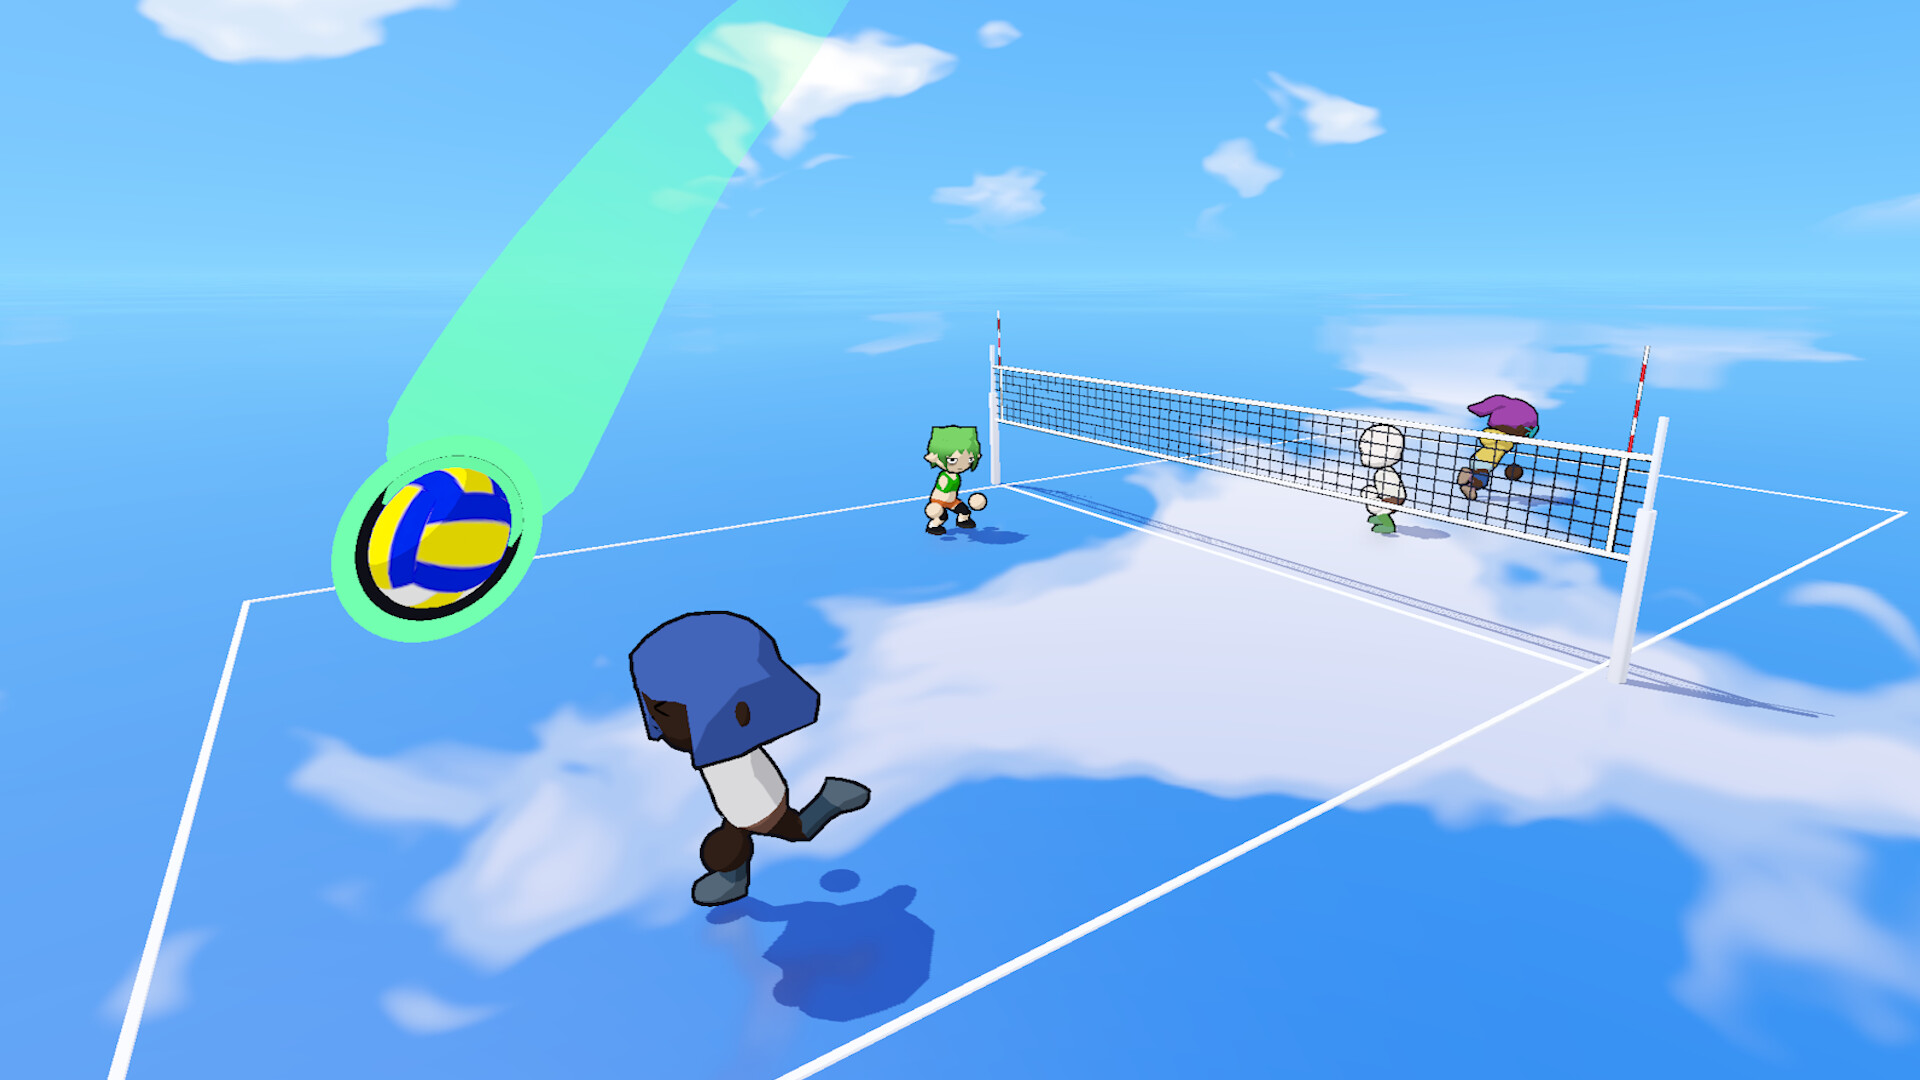
Spiking is the highlight reel of Just Volleyball, but placement and jump timing win more points than raw click spam. This guide covers the core spike, charged jumps, W power and A/D curve modifiers, dash-jump and BAM jump approaches, and how blocking pairs with your attack. Read Controls for the input map and How to Serve if you want the same modifier language on first contact. Beginners should still finish Getting Started before living at the net.
Core spike recipe
- Get a playable second contact—ideally a set with E aimed where you can still approach.
- Charge Space when you need height to clear the block or to hit downward.
- Leave the ground so you meet the ball at a strong contact window.
- Left-click in the air with the cursor on a gap across the net.
- Optionally hold W for power or A/D for curve during the hit.
Grounded left-click will receive, not spike. If you click too early on the ground, you bump instead of swing. Jump first, then hit.
Cursor placement beats panic power
Every spike follows the cursor. Aim into the block and you hand them a rebound. Aim at the deep corner away from the primary defender and you score with medium pace. In 2v2, attack the seam between partners or the line behind a committed diver. In larger modes through 6v6, read which blocker jumped and which defender released early; tool the block or go high hands off for a deflection that your team can transition.
A controlled medium spike into empty floor is worth more than a maximum W swing into a triple block. Power is a tool, not a personality.
Charged jumps and contact height
Hold Space to charge. Higher contact creates steeper angles and more room to swing over smaller blockers. Start the charge while the setter’s ball is still rising so you are not still holding Space when the ball is already falling past the hit window. Accidental charges can often be canceled with a left click—useful when you pumped for a shoot set that never came.
Avoid mashing extra jumps in the air. Extra airborne jump presses can dump you into a stumble or fall in current builds. One clean charged jump beats three panicked taps.
W power spikes
Hold W through the airborne contact to drive a heavier ball. Power spikes punish free balls and high sets when the block is late or absent. They also cost stamina from the shared pool with sprint and dive, so stringing five power swings in a long rally can leave you unable to save the next tip.
Use power when:
- The set is high and off the net enough to swing full
- You see no blocker, or only a single late jump
- You are transitioning off a weak free ball
Skip power when you are already off-balance, deep behind the attack line with a poor angle, or staring at a formed double block—go tool or tip instead.
A / D curve spikes
Hold A or D at contact to bend the path. Curve spikes are deception tools: the defender who planted under your reticle eats a ball that slides away. Alternate directions across a set so opponents cannot shade one sideline. Combine curve with smart aim, not with reckless power, until your fault rate is low.
Cross-court curves that start toward the line and break away are especially nasty in 1v1 and 2v2 where floor space is honest and help defense is limited.
Dash-jump approach
Dash-jump tech uses a short sprint or explosive approach into the jump so you arrive with momentum. Typical pattern: read the set, sprint a few steps into the path, plant, charged or timely jump, then spike. Because sprint drains stamina and cannot combine with Shift strafe, decide early whether you need approach speed or facing control while you fine-aim the cursor.
Dash-jump shines on sets that pull you off the net or on quick outside balls where a flat-footed jump leaves you under the ball. Do not sprint the entire width of the court for every swing—arrive under control.
BAM jump technique
BAM jump refers to a punchy, tightly timed jump-and-swing that prioritizes explosive contact over a long floaty hang. Think of it as the opposite of a slow, fully lofted approach: you load, jump, and hit in a compact window to catch blockers before they reach full extension. Practice BAM timing in bots until the click lands at the top of a shorter jump without whiffing.
Use BAM when:
- The set is faster or lower than a standard high ball
- You want to beat a blocker who loads late
- You are swinging transition off a scramble and do not have time for a full charge
If you whiff BAM attempts, slow down: return to a normal charged jump until contact consistency returns, then reintroduce the compact timing.
Blocking as the other half of net play
Right mouse in the air near the net blocks. Jump into the expected swing path and challenge at the tape. Blocks do not count as one of your team’s three contacts, so a soft block that stays on your side can become an extra free touch for your setter. A full stuff is obviously better.
Rules reminders that save matches:
- Net contact is OK
- Crossing into the opponent’s court is a fault—watch landings after aggressive penetrations
- Outside 1v1, avoid consecutive touches by the same player after a block rebound if the ball stays playable on your side—let a teammate take the next contact when required
Pair blockers with read, not guess. Watch the setter’s shoulders and the attacker’s approach angle. In 6v6, commit with a partner; in 1v1, you are the entire wall—prioritize taking away the hitter’s favorite line.
Offense sequencing that sets up spikes
Great spikes start two touches earlier:
- Receive toward the setter with grounded LMB and honest cursor aim
- Set with E to a location the attacker can still dash-jump into
- Spike with the modifiers that match the block read
If the first touch is a shank to the antenna, no BAM tech saves you. Spend practice time on platform quality as much as on swing cosmetics. Dive only when necessary; a forty percent stamina dive that leaves you down for two seconds removes you from the next transition swing entirely.
Practice drills
- Ten high sets, no modifiers: jump, click, deep corner only
- Ten W power swings on free balls; count stamina afterward
- Ten A then ten D curves cross-court
- Dash-jump lane: sprint three steps from outside, plant, swing
- BAM reps: faster sets, compact jump, focus on clean contact
- Block reads: bot attacker, take line for five, then angle for five
Run these in offline bots or a private lobby from Multiplayer so you can fail without an audience. Check Codes if you unlock presets that change body types or animations and need to re-learn timing.
Common spike mistakes
- Clicking before leaving the ground (accidental receive)
- Cursor still on your court (self-kill into the floor)
- Power swinging into a set block every time
- Emptying stamina on approaches so the next dive knockdowns you
- Ignoring the set quality and blaming “bad hit reg”
Fix aim and jump timing first. Add W, A/D, dash-jump, and BAM only when the basic airborne left-click already finds floor. Return to the Guides Hub for related tutorials, and watch Updates if patch notes retune jump charge or block windows.
Clean contact, honest cursor, and selective power turn Just Volleyball spikes from coin flips into decisions.
Frequently Asked Questions
Quick answers for the court.
How do I spike instead of bumping?
Jump first with Space, then left-click while airborne. A grounded left-click always receives or bumps toward the cursor.
What do W, A, and D do during a spike?
Hold W at contact for power. Hold A or D at contact to curve left or right. Learn clean placement before stacking modifiers every swing.
What is a dash-jump or BAM jump?
Dash-jump uses a short sprint approach into the jump for momentum. BAM jump is a compact, explosive jump-and-hit timing meant to beat late blockers on faster sets.
Do blocks count toward the three contacts?
No. Blocks do not consume a team contact, so a soft block can give your side another chance to set and spike.
Why do I keep faulting after spikes or blocks?
You may be crossing into the opponent’s court on the landing. Net contact is allowed, but entering their court is a fault—soften penetration and control your landing.